


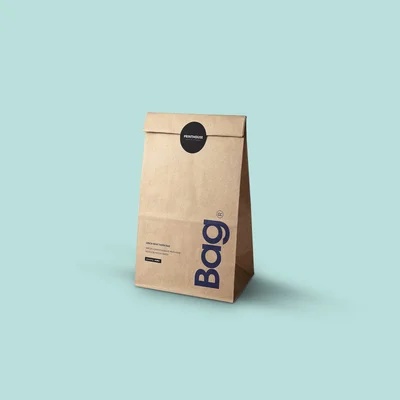
Free Dieline Templates for Every Box We Print
A dieline is the flat drawing a box is cut from, and it decides whether your artwork lands where you expect it to. Every panel, every crease and every glue tab appears on it before anything reaches a press.
The templates below cover the structures we cut in house. Download the one that matches your style, place your artwork on the layer we leave empty, and send the file back. If your product needs a size we do not list then ask for a custom dieline and we will cut one to your measurements at no charge.
Download a dieline template
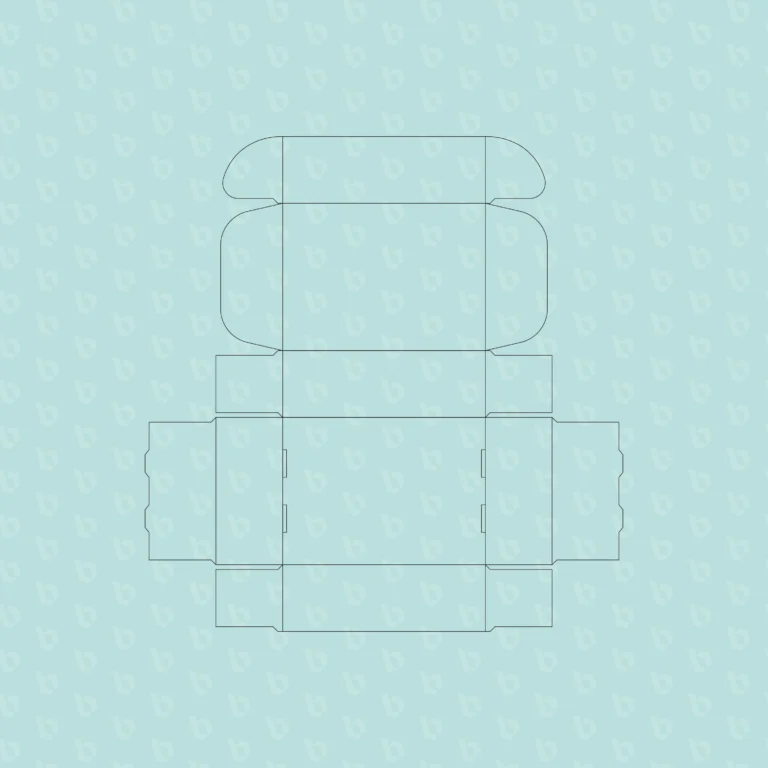
Every template below opens flat with the cut, crease and bleed layers already drawn. Download the structure you need, or ask for the same shape at your own dimensions.
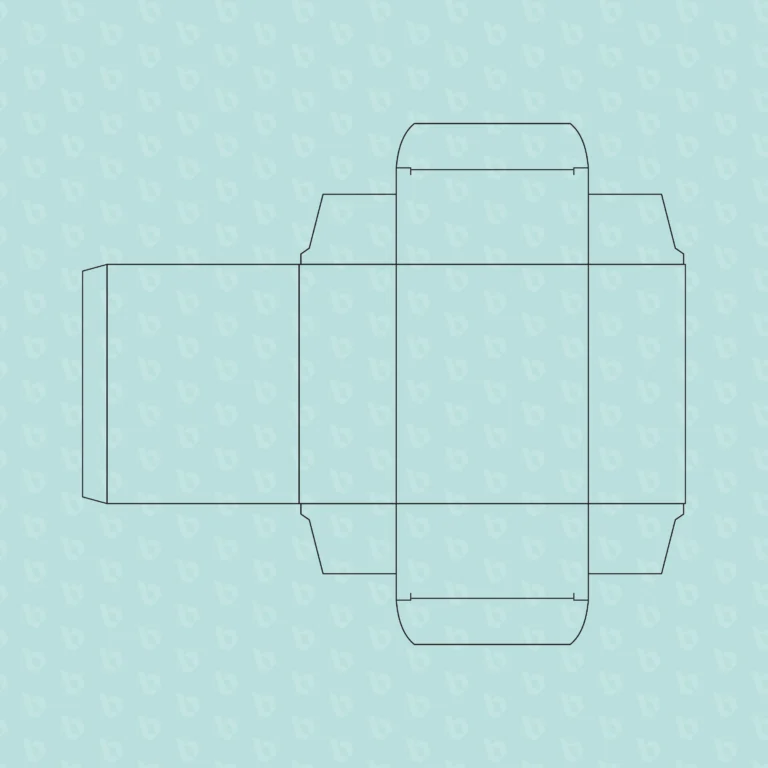
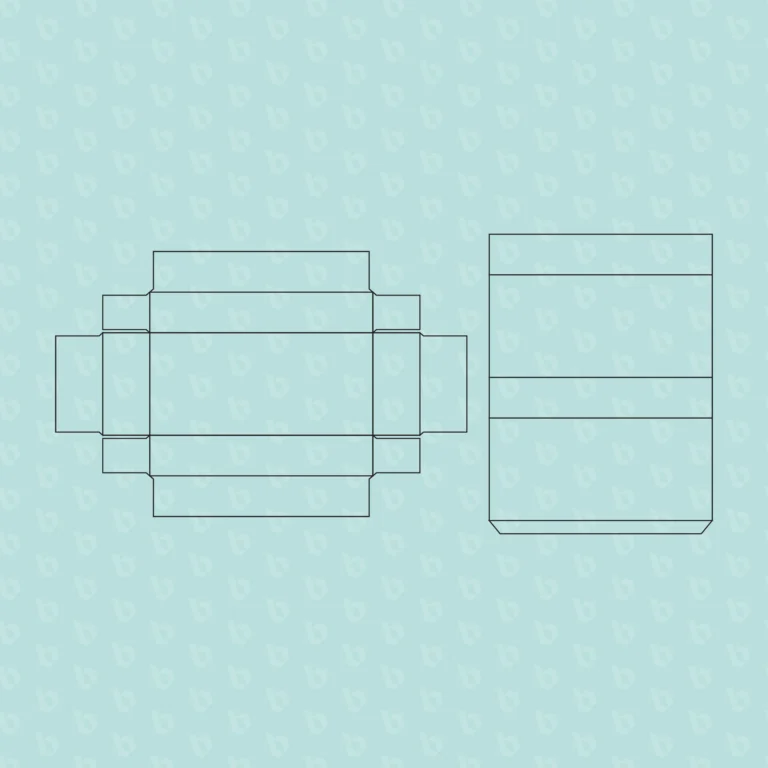

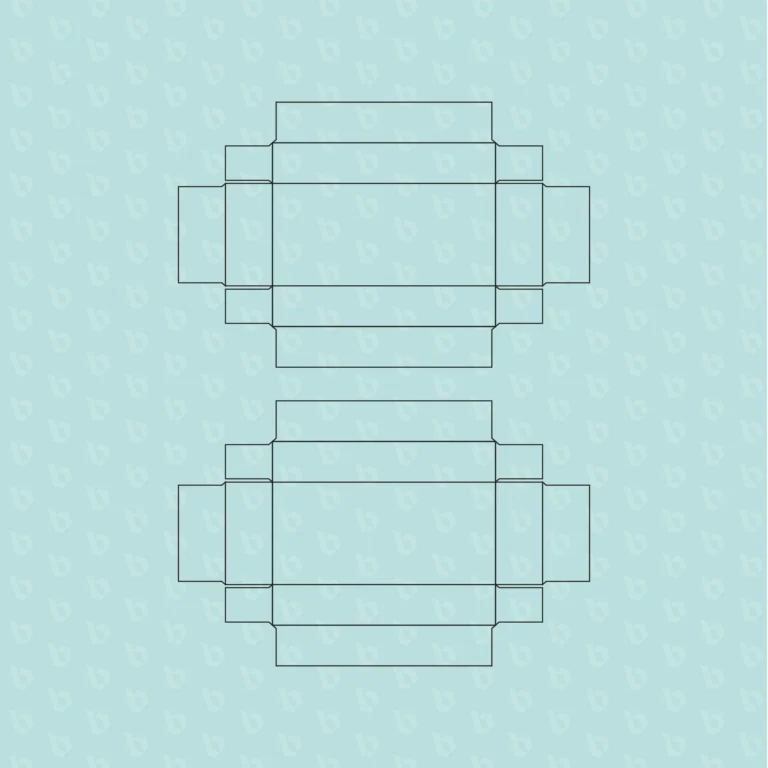


Structures we draw to order
These five do not have a standard template on the page yet, because the sizes vary too much for one drawing to be useful. Ask for the dieline and we cut one to your product inside a working day.
| Structure | Board we quote | How to get it |
|---|---|---|
| Gable Box | 300 to 350 GSM SBS | Request this dieline |
| Seal End Box | 300 to 350 GSM SBS | Request this dieline |
| Dispenser Box | 300 to 400 GSM SBS or E flute | Request this dieline |
| Display Box | 350 to 400 GSM SBS or E flute | Request this dieline |
| Full Flap Shipping Box | B or C flute at 32 ECT | Request this dieline |
What a dieline actually shows you
A dieline is a scale drawing of one flattened box with every tool path marked on it. The drawing tells the cutting die where to cut and where to crease, and it tells your designer where artwork can safely sit.
Reading it takes a minute and it saves a reprint. The lines are not decoration and they each mean a different operation on the floor.
| Line on the template | What it means | What you do with it |
|---|---|---|
| Cut line | The outer edge where the die cuts the board | Never move it and never place artwork across it |
| Crease line | Where the board folds to form a panel | Keep logos and text clear of it, because ink cracks on a fold |
| Perforation | A broken cut that tears open by hand | Leave it visible so the customer finds the opening |
| Bleed | Artwork that runs 3 mm past the cut line | Extend every background to it so no white edge appears |
| Safety area | A margin of 3 mm inside the cut line | Keep all text, logos and barcodes inside it |
| Glue tab | The flap the machine glues to close the carton | Leave it unprinted, because ink weakens the bond |
Setting your artwork on the template
Open the template and leave every guide layer exactly where it is. Place your artwork on its own layer underneath the guides so that the two never merge. Extend any background color or image all the way out to the bleed line.
Keep text and logos inside the safety area, because cutting and creasing both carry a small tolerance and a panel can shift by a millimeter or two. Send the file back with the guide layers still in place, since we use them to check your artwork before the job goes to press.
01. Pick the template
Download the structure that matches your box, or ask for a custom size.
02. Place your artwork
Work on your own layer under the guides and run backgrounds to the bleed.
03. Send it back
AI, EPS or PDF in CMYK at 300 dpi, with the guide layers still in place.
04. Approve the proof
We return a flat proof and a 3D mockup before anything goes to press.
The template is a starting point, not a fixed size
Each template is drawn at a common size for that structure, so it shows the proportions rather than your exact dimensions. Boxes are built to the inside measurement of the product, which means almost every job gets its own dieline in the end.
Send us the length, the width and the depth of the product and we redraw the template to those numbers. There is no charge for that and it takes a working day at most.
What we send files back for
Most files that come back to us fail on one of the same five things. Each one takes a minute to fix before the proof and a reprint to fix afterwards. Running down this list before you send the file removes almost every delay we see.
| What goes wrong | What it does on press | The fix |
|---|---|---|
| Artwork stops at the cut line | A white sliver appears along the edge once the board is trimmed | Extend every background and image 3 mm past the cut |
| Text sitting on a crease | Ink cracks along the fold and the line breaks up on the shelf | Move it at least 3 mm clear of every crease line |
| Guide layers deleted | We cannot confirm that the artwork sits on the panels you intended | Keep the layers in place and send them back with the file |
| Artwork supplied in RGB | Screen colors shift when they convert on press and the match is lost | Convert to CMYK before you send anything to us |
| Printing across the glue tab | Ink weakens the bond and a glued carton can open in transit | Leave the tab clear of artwork on every design |
A printed sample settles all five of these before a full run goes to press. A plain structural sample takes 3 to 5 working days and a printed sample takes 7 to 10.
What to send us
Send the product dimensions, the quantity and the box style you have in mind. If you are unsure which structure fits then send a photo of the product and we will come back with two options.
Artwork comes to us as an AI, EPS or PDF file in CMYK at 300 dpi with 3 mm of bleed. Design support is free at every stage, so a file that is not print ready gets fixed rather than sent back to you.
Email Sales@boxesexpert.com or call +1 682 243 7891 between 8am and 5pm EST on any weekday. The minimum is 100 boxes per size and per design, and there is no setup or tooling charge at any quantity.
If you are not certain which structure fits the product, compare every one we cut on the box styles page. Read the artwork guidelines as well before you start building the file.